
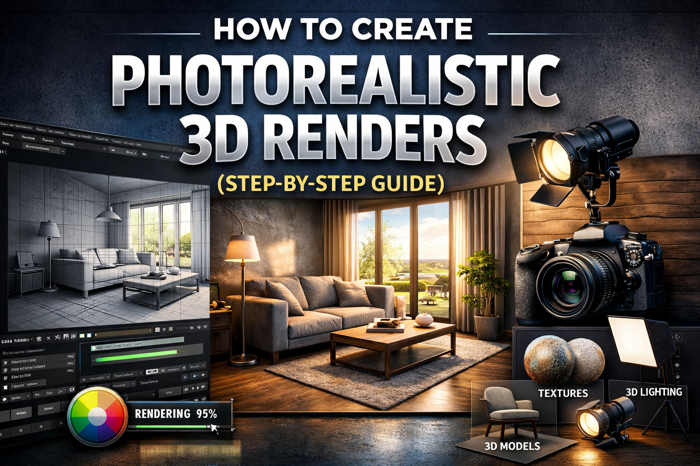
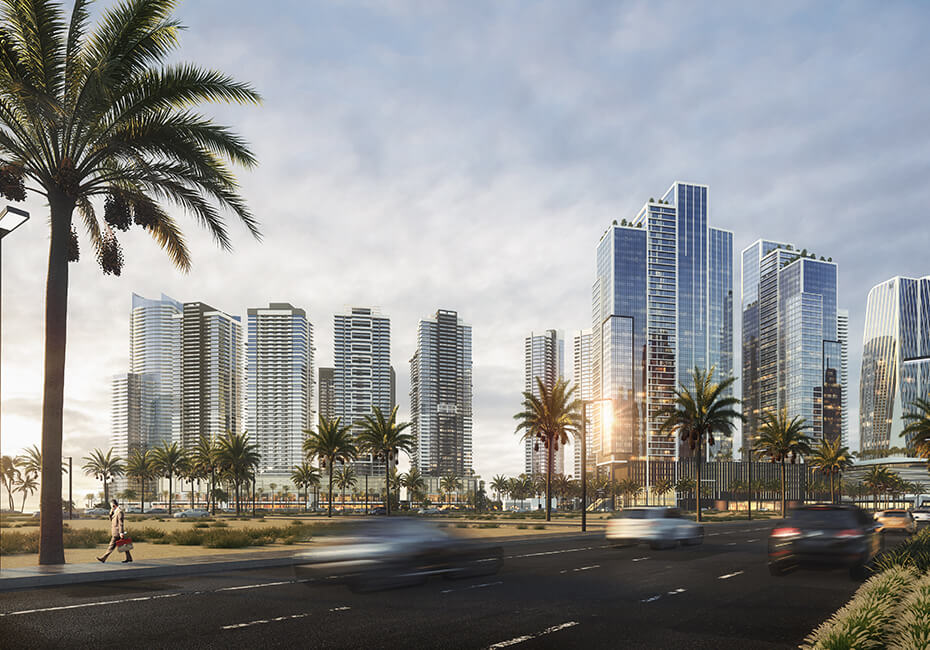
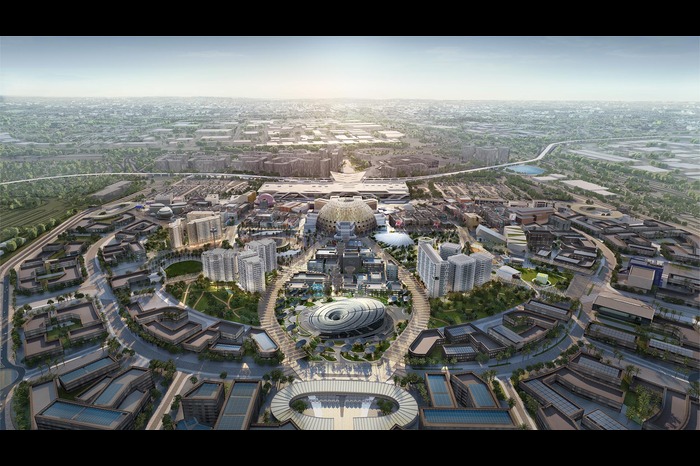
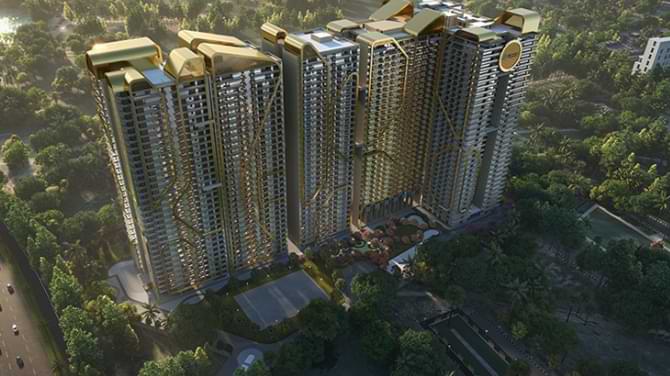
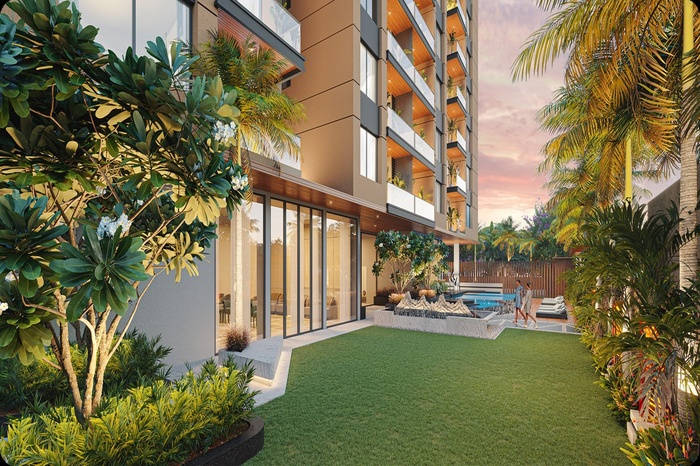
In the modern world of architecture, real estate, and product visualization, Photorealistic 3D Renders have become an essential tool for presenting ideas clearly and convincingly. These renders allow designers, architects, and developers to transform digital concepts into highly detailed images that look almost identical to real-life photographs.Whether it’s a residential project, commercial building, or product design, high-quality rendering helps clients visualize the final result before construction even begins. Businesses increasingly rely on Photorealistic 3D Rendering Services to create impressive visuals that enhance presentations, marketing campaigns, and design approvals.This step-by-step guide will explain how professionals create realistic renders and what techniques are required to achieve stunning results.
What Are Photorealistic 3D Renders?
Photorealistic 3D Renders are computer-generated images designed to look like real photographs. They include realistic lighting, textures, materials, shadows, reflections, and environmental effects.The goal of photorealistic rendering is simple: make the viewer believe the image could be a real photograph.
Industries that widely use photorealistic rendering include.
- Architecture and real estate
- Interior design
- Product design
- Construction planning
- Marketing and advertising
- Virtual staging and presentations
Professional Photorealistic 3D Rendering Services help businesses present projects in the most compelling way possible.
Step-by-Step Guide to Creating Photorealistic 3D Renders
Creating high-quality renders requires a structured workflow. Below are the essential steps professionals follow.
Step 1: Start with Accurate 3D Modeling
The first step in creating Photorealistic 3D Renders is building a precise 3D model of the object or structure.A well-constructed model ensures that proportions, scale, and details appear realistic. The model should include every necessary element, such as walls, furniture, windows, doors, and decorative features.
Key modeling tips include.
- Maintain accurate measurements
- Include realistic details
- Avoid unnecessary geometry
- Use clean topology
Popular 3D modeling software includes tools designed for architectural and product modeling. The more accurate the model, the better the final render will appear.
Step 2: Apply Realistic Materials and Textures
Once the model is complete, the next step is applying materials and textures.Materials determine how surfaces interact with light. For example, wood reflects light differently than glass or metal.
To achieve realistic results, designers use high-quality texture maps such as:
- Diffuse maps
- Reflection maps
- Bump maps
- Normal maps
- Displacement maps
These maps add surface details such as grain, scratches, roughness, and imperfections.Textures should always be high resolution and properly scaled to avoid unrealistic surfaces. This step plays a major role in creating convincing Photorealistic 3D Renders.
Step 3: Set Up Realistic Lighting
Lighting is one of the most important factors in rendering realism. Even a perfectly modeled scene can look artificial if the lighting is incorrect.Professional Photorealistic 3D Rendering Services focus heavily on lighting techniques to simulate real-world environments.There are three main types of lighting used in rendering.
Natural Lighting
Natural lighting simulates sunlight and sky illumination. It is commonly used for exterior architectural renders.
Artificial Lighting
Artificial lights replicate interior lighting sources such as:
- Ceiling lights
- Lamps
- Spotlights
- LED fixtures
HDRI Lighting
HDRI (High Dynamic Range Imaging) lighting uses real-world environment maps to create realistic reflections and lighting conditions.Proper lighting adds depth, shadows, and realism to the scene.
Step 4: Add Realistic Camera Settings
Just like in photography, camera settings play a huge role in rendering.
A virtual camera is used to capture the scene. Adjusting the camera correctly can dramatically improve realism.
Important camera settings include.
- Field of view
- Depth of field
- Exposure
- White balance
- Camera angle
- Focus distance
Depth of field, for example, can blur background elements slightly, mimicking the effect of a real camera lens.This technique helps create cinematic and professional Photorealistic 3D Renders.
Step 5: Include Realistic Environment Elements
To make a render believable, the scene must feel alive. Adding environmental elements helps achieve this.
Common additions include.
- Trees and plants
- Cars
- People
- Furniture
- Sky backgrounds
- Street elements
These objects provide scale and context for the main subject.For architectural renders, adding landscaping, roads, and natural surroundings greatly improves realism.
Step 6: Adjust Rendering Settings
Rendering is the process where the computer calculates lighting, reflections, shadows, and materials to produce the final image.High-quality Photorealistic 3D Rendering Services rely on advanced rendering engines to achieve professional results.
Important render settings include.
- Global illumination
- Reflection quality
- Shadow accuracy
- Anti-aliasing
- Render resolution
- Light bounces
Higher render settings produce more realistic images but require more processing time. Balancing quality and efficiency is an important part of professional rendering workflows.
Step 7: Post-Production and Image Enhancement
After rendering the image, designers refine it using post-production tools. Post-production helps enhance color, contrast, brightness, and overall visual quality. Common post-processing adjustments include.
- Color correction
- Exposure adjustments
- Adding glow effects
- Sharpening details
- Sky replacement
- Lens effects
This step gives the final image a polished and professional look.
Benefits of Photorealistic 3D Rendering
Using Photorealistic 3D Renders offers several advantages for designers and businesses.
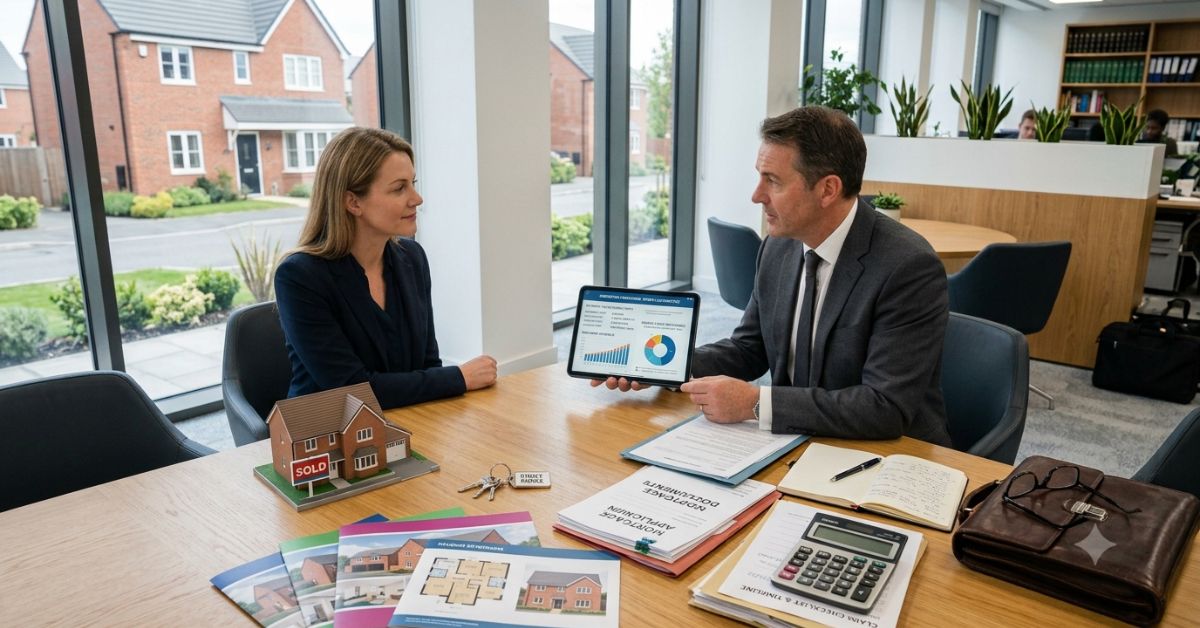
Better Client Visualization
Clients often struggle to understand technical drawings. Realistic renders allow them to clearly visualize the final project.
Improved Marketing
High-quality visuals are powerful marketing tools for real estate developers and architects.
Faster Decision Making
Realistic visuals help stakeholders review designs quickly and approve projects faster.
Reduced Design Errors
Rendering allows teams to identify design issues early in the planning stage.
Stronger Project Presentations
Presentations become more persuasive when supported by high-quality visuals. These benefits explain why companies increasingly rely on professional Photorealistic 3D Rendering Services.
Common Mistakes to Avoid in 3D Rendering
Even experienced designers sometimes make mistakes that reduce realism. Avoiding these errors is crucial.
Low-Quality Textures
Using poor-quality textures can make the entire render look unrealistic.
Incorrect Lighting
Lighting that is too bright, too dark, or poorly placed reduces realism.
Lack of Scene Details
Empty scenes without context feel artificial.
Unrealistic Materials
Incorrect reflection or roughness values can make surfaces look fake.
Poor Camera Angles
An unnatural camera angle can make even a well-designed model look unappealing. Avoiding these mistakes helps ensure that Photorealistic 3D Renders look natural and convincing.
Why Businesses Use Professional Rendering Services
Creating high-end renders requires experience, powerful hardware, and advanced software. Because of this, many companies choose professional Photorealistic 3D Rendering Services. Professional teams understand how to balance modeling, lighting, textures, and rendering settings to produce impressive results. Companies like SMA Archviz specialize in creating realistic architectural visualizations that help architects, developers, and real estate professionals showcase their projects effectively. Outsourcing rendering services also saves time and allows design teams to focus on their core work.
The Future of Photorealistic 3D Rendering
Technology is continuously improving the rendering industry. Several trends are shaping the future of Photorealistic 3D Renders.
These include.
- Real-time rendering technology
- Artificial intelligence in rendering
- Virtual reality integration
- Cloud rendering services
- Interactive 3D presentations
These advancements are making rendering faster, more accessible, and more realistic than ever before.As visualization tools evolve, photorealistic rendering will continue to play a major role in architecture, marketing, and product design.
Conclusion
Creating realistic visuals requires a combination of accurate modeling, high-quality textures, advanced lighting, and detailed post-production.By following the proper workflow from modeling and material creation to rendering and post-processing designers can produce stunning Photorealistic 3D Renders that closely resemble real-world photographs.Businesses increasingly rely on Photorealistic 3D Rendering Services to present projects effectively, improve marketing strategies, and help clients visualize designs with clarity.As technology continues to advance, photorealistic rendering will become even more powerful, helping architects, designers, and developers bring their ideas to life with unmatched realism.


Leave a Reply