
Designing a patch from scratch can feel intimidating, especially if you have never worked with embroidery, PVC, or woven artwork before. That is where a free patch design template comes in. A good template gives you a ready-made starting point, so you don’t have to guess at sizing, stitch density, or border spacing. Whether you are a small brand, a motorcycle club, a school team, or a hobbyist, a free patch design template saves time, avoids costly mistakes, and helps you visualize your final patch before it ever goes into production.
In this guide, we will cover what a patch design template actually is, why it matters, where to find one, and how to use it to get the best possible result from your patch maker.
What is a patch design template?
A patch design template is a pre-built digital file, usually in vector or high-resolution raster format, that shows the correct outline, bleed area, and safe zone for a patch. It acts as a guide so that text, logos, and artwork are placed correctly and nothing important gets cut off during cutting or stitching.
Templates typically include:
- Outer border guide: shows the exact edge of the patch shape.
- Safe zone: the inner area where fine text and details should stay so they are not lost in trimming.
- Bleed margin: extra space around artwork that gets trimmed away.
- Grid or size markers: helps you scale your design to the correct finished dimensions.
Why use a free patch design template?
Using a template before sending your artwork to production has several benefits:
- Accuracy: Templates are built to the actual specifications used in patch manufacturing, so your design lines up correctly the first time.
- No design software expertise needed: Beginners can simply drop their logo or artwork into the template layers.
- Saves revision costs: Getting the size and layout right early on means fewer proof revisions.
- Consistency: If you’re ordering patches in different sizes for different products (hats, jackets, vests), templates keep your branding consistent.
- Faster approval: A well-structured template makes it easier for the manufacturer to understand exactly what you want.
Types of free patch design templates
Not every patch is the same shape or made the same way, so templates vary depending on the style you are creating:
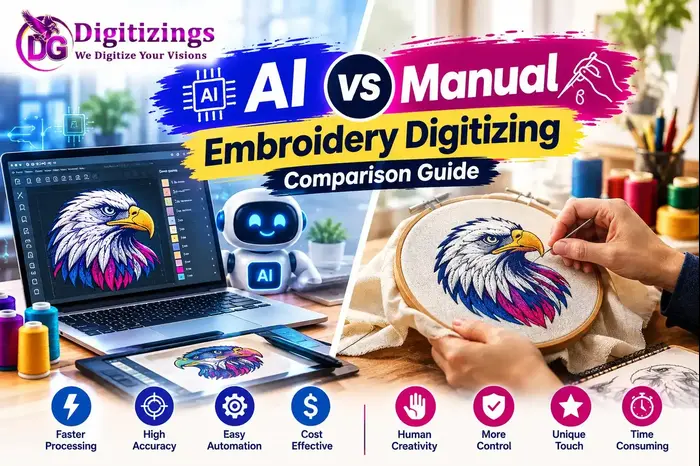
Embroidered patch templates: built around thread density and stitch direction, these help you avoid overly fine detail that embroidery machines cannot reproduce cleanly.
PVC and rubber patch templates: designed with thicker outlines and bold color blocks, since PVC patches rely on raised, molded sections rather than fine stitching.
Woven patch templates: built for flat, high-detail designs, ideal for small text, gradients, or photographic-style logos.
Leather and faux leather templates: simple, often single-color or debossed designs work best, so these templates usually emphasize negative space.
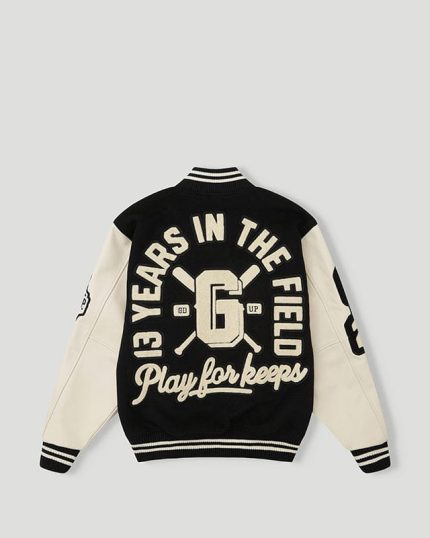
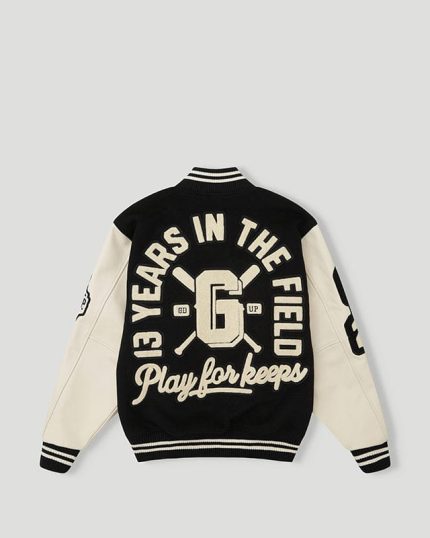
Chenille patch templates: built around bold, oversized lettering typical of varsity and letterman-style patches.
Where to find free patch design templates
There are a few reliable ways to get your hands on a free patch design template:
- Manufacturer websites: Many patch makers offer downloadable templates in PDF, AI, or PSD format directly on their product pages.
- Design software marketplaces: Platforms like Canva and Adobe Express host free patch and badge templates that can be customized online.
- Community design forums: Embroidery and patch-making communities often share free templates for common patch shapes.
- Custom quote requests: Some vendors will send you a tailored blank template once you request a quote, matching the exact size and shape you want to order.
Whichever source you choose, always confirm the template matches the finished size and patch type you plan to order, since specifications can vary between embroidery, PVC, and woven production methods.
How to use a free patch design template
Getting from a blank template to a finished design is straightforward if you follow these steps:
- Open the template in a vector editor (like Adobe Illustrator or Inkscape) or a browser-based tool if it’s built for one.
- Import your logo or artwork as a separate layer above the template guides.
- Resize and align your design so key text and images stay inside the safe zone.
- Choose your colors, keeping in mind that some patch types (like PVC) have a limited color palette compared to full-color embroidery or sublimation.
- Remove the guide layer before exporting, or ask your vendor if they prefer the guides left in for reference.
- Export at high resolution (300 DPI or vector format) so fine details are not lost.
- Submit for a digital proof so the manufacturer can confirm stitch paths, colors, and sizing before production begins.
Free patch design template sizes and shapes
Templates are typically offered in the most common patch dimensions and shapes, including:
- Round: 2″, 3″, and 4″ diameters are the most requested sizes.
- Rectangle: popular for name tags and back patches.
- Shield: often used for military, police, and club-style patches.
- Custom die-cut shapes: logos or mascots cut to their exact outline.
If your design doesn’t fit a standard template, most vendors can build a custom template from your outline artwork before quoting your order.
Tips for customizing your patch template
- Keep small text at least 1/8 inch tall so it remains legible after stitching or molding.
- Avoid using more than 8–10 thread colors for embroidered designs, since too many colors can raise costs and stitch time.
- Use bold, simple shapes near the border, since intricate detail close to the edge is the most likely to be lost in trimming.
- Test your design at actual size before finalizing, since colors and detail that look great zoomed in on a screen can look very different at 2 or 3 inches.
- Add a border color that contrasts with the base garment, since patches are often applied to varied fabric colors.
Common mistakes to avoid
- Ignoring the safe zone: placing text or logos too close to the edge often results in cut-off details.
- Using low-resolution artwork: blurry or pixelated logos translate into blurry, low-quality patches.
- Overcomplicating the design: extremely detailed artwork does not always translate well into stitched or molded patches.
- Skipping the digital proof stage: always review a proof before bulk production to avoid costly reprints.
- Forgetting the finished size: a design that looks balanced at a large size may look cluttered once scaled down to 2 or 3 inches.
From template to finished patch
Once your design is finalized using the template, most manufacturers will walk you through selecting the patch material (embroidery, PVC, woven, leather, or chenille), backing type (iron-on, Velcro, sew-on, or adhesive), and border finish (merrowed or heat-cut). A free patch design template is simply the first step of the process, it gives you the framework, but the finishing touches are what make a patch look professional.
If you are looking for a finished, ready-to-wear result rather than starting completely from scratch, working with a trusted Custom Patch manufacturer can help turn your template into a durable, production-ready patch, complete with material guidance, color matching, and quality control.
Conclusion
A free patch design template takes the guesswork out of patch creation. It gives you the outline, safe zone, and sizing guidance you need to design with confidence, whether you’re making a single patch for a personal project or planning a bulk order for a brand, team, or organization. By following the sizing tips, avoiding common design mistakes, and reviewing a digital proof before production, you can go from a blank template to a polished, professional patch with far less trial and error.